School is starting in T-minus 2 weeks... AH! How exciting and wonderful, yet how many of us parents dread of the renewal of lunch/snack packing? Or the low-grade anxiety of getting back into the natural swing of things that takes a few weeks to get into a more normal groove. Yes, it will come. But, what ways can we prepare and make these transitions more peaceful and full of nourishing vibes?
One of the helpful puzzle pieces is finding and planning ways to nourish and feed our bodies good food and plants. This usually means for me making a big batch of GF muffins or bread or even cookies to have on hand and pack and enjoy for the week. It also involves having a few fun snack and after school foods ready and available. And then also having a few super easy, one-pot or pan type meals ready to go to help with all the craziness. Taking a few steps to plan can help all this go smoothly and of course gathering as much colorful foods from the local farmer's market or beloved garden is one of the best places to start. Can we teach our kids the joy of a piece of fresh fruit for their packed snacks? An apple or peach in all their wonderful beauty and crunch? Maybe a seed or nut butter dip to make fruit or veggies more interesting if need be?
It also amazes me how if you chop up veggies in a special way and make a design with it my kids will more likely eat the veggies. Or if they help me with the chopping and peeling or with the putting together of a salad...then, they will definitely eat more veggies! So many times the easy route seems to be just buying all the packaged items at that stores, but if we could just give ourselves 15 minutes a day or even just 30 minutes at the start of the week we could chop up a TON of finger-picking veggies and fruit that is easy to pack and eat every day that week. These are my most go-to snacks for my kids...fresh fruit and veggies. Sometimes we make hummus or yogurt dips or bean dips to make the dipping more fun, but I bet you will be surprised how fun and colorful fruits in veggies in the snack bag can be. Get a fun reusable case and have them do the refilling each day to even get your kids involved with their own snack making. Making a big batch of homemade hummus or salsa always helps makes veggies look more interesting too ;) What are some tricks and quick recipes that you have? Please share in comments for all of us to enjoy...!
A new make ahead, easy to grab and pack, or after school snacks:
Granola Yogurt Fruit Parfaits Recipe
{gluten, dairy, nut, seed, egg, and soy-free and VEGAN}
2-3 cups of rolled certified gluten free oats
1 cup of raw pumpkin seeds
1/3 cup of maple syrup
1/4 cup off molasses
1/3 cup of avocado oil
pinch of sea salt
and a sprinkle of cinnamon
1/2-1 cup of dried fruit (combo of raisins, cherries, cranberries)
Mix all of the above ingredients in a large mixing bowl with your hands and then spread thin on a parchment covered 11x15 baking sheet and bake at 350 for 25 minutes until crispy golden brown. Pull from the oven and pour on the dried fruit and then let cool and dry for another few hours and then your granola is ready for crunchy, tasting, and packing up in a jar for the pantry and ready to pull out for quick breakfasts or snacks.
When packing a jar parfait, drop the yogurt of choice on the bottom and then layer some fresh berries, banana or whatever fruit you desire and then layer with some granola on top. I especially lot this snack when you can get so many fresh berries and peaches and fruit at the local farmer's market. Lots of fresh flavor, crunch, fiber and beauty. This is an easy breakfast or snack to pack and grab to go out of the house!
Some other easy big batch recipes for packing for easy to-go snacks:
Homemade Hummus
Fresh Salsa
Zucchini Brownie Bite Muffins
Zucchini Mini Muffins
Maple Sunbutter Apple Dip
Millet Oat Breakfast Bars
and another full of fiber whole grain muffin recipe...
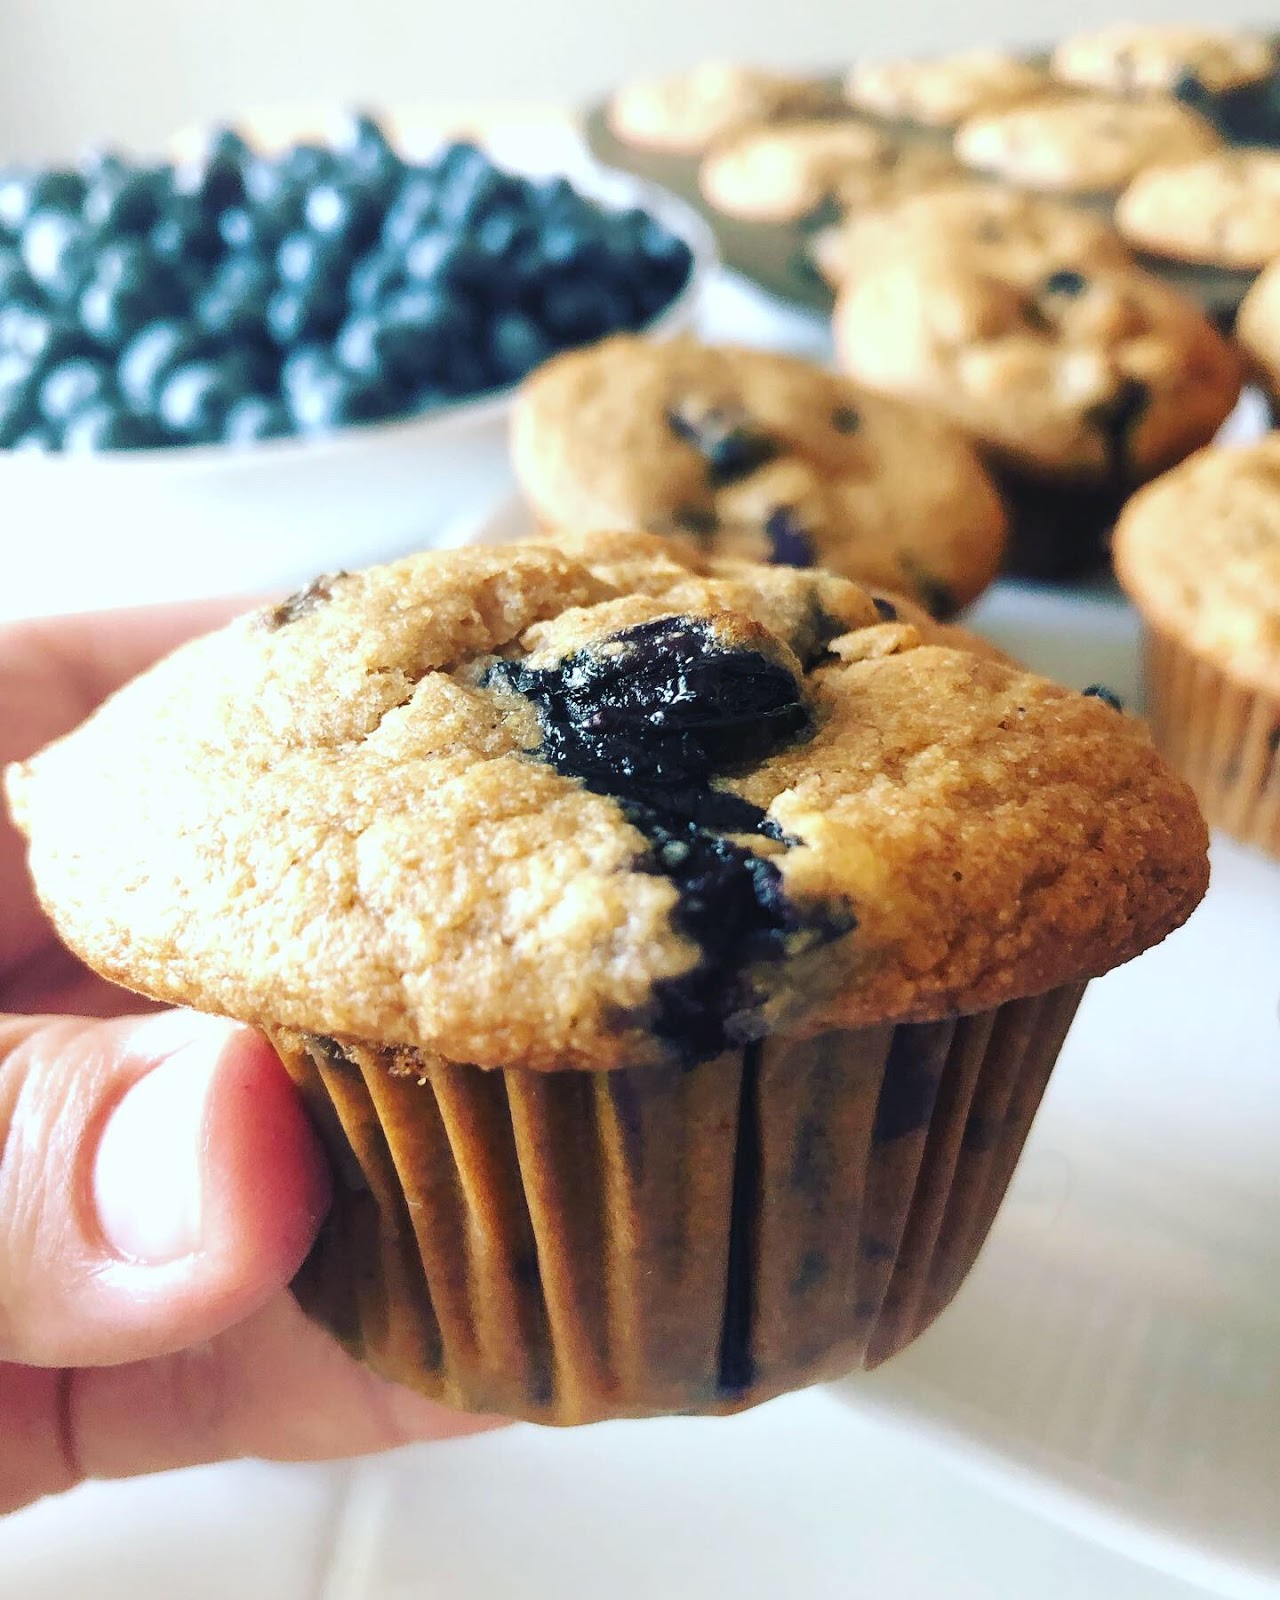
Blueberry Banana Whole Grain Muffins Recipe
gluten, dairy, egg, honey, nut, seed and soy-free
3 cups of favorite whole grain gluten-free flour blend (or mix the following)*
1/2 cup of quinoa flour
1/2 cup of buckwheat flour
1/2 cup of millet flour
1/2 cup of brown rice flour
1 cup of GF oat flour
* I put all dry grains of the above in my Vitamix dry blender and grind soft into flour*
1/3 cup of tapioca starch/flour
1/3 cup of coconut palm sugar
1 ts. of baking soda
1 ts. of sea salt
3 mashed ripe bananas (about 1 cup of bananas)
1 lemon freshly juiced and zested (1/4 cup)
2 TB of apple cider vinegar
1/4 cup of maple syrup
1/3 cup of avocado oil
1/4 cup of applesauce
Plus 1 cup of fresh blueberries
Mix all the dry ingredients together first, then add in the wet ingredients and whip up together well. Lastly fold in a cup or as many blueberries you want. Then, use an oil covered scoop to scoop into muffin tins. Bake the muffins in a 350 degree oven for 25-28 minutes depending on your oven.
Pull from the oven and let cool for at least 20 minutes before biting into :)
Homemade muffins, with ingredients full of nutrients and that you can trust are such wonderful to-go breakfasts and snacks for kiddos. They see it as a treat and really you are treating them to baked good full of whole grains and minerals to feed their brains and energy. I like to make a batch in the beginning of the week and have them ready and available on the counter to quick pack up if need be.
What are some homemade or quick whole food school-ready snacks and foods you have ready in your kitchen? I would love to hear more great ideas! Another great plan is to have a few easy one-pot or crock pot meals ready for the first few weeks of school starting which may be helpful for parents with hungry kiddos right when you get home, or for teachers who are always putting in those long hours. Here is a link to browse some easy
one-pot meals to look ahead and prep for those long days ahead. One of my favorites is
Cauliflower and Sweet Potato Chickpea Curry!
Much love and light as always xoxo
Stephanie